- 1. Get in contact with us to arrange a day and time to suit you so that we can see the space in your loft. We will discuss with you all the options available to suit the space/size you have in your property and also gives us chance to assess any obstacles we may face, for example, water tanks, head room, stair location, etc.
- 2. Our architect will arrange a visit so they can measure, talk through with yourself and ourselves what we are trying to achieve and then go away and do a detailed plan of your property. These plans will then be forwarded to Reading borough councils building control department to be checked to make sure all current building regulations are being met to the correct standard.
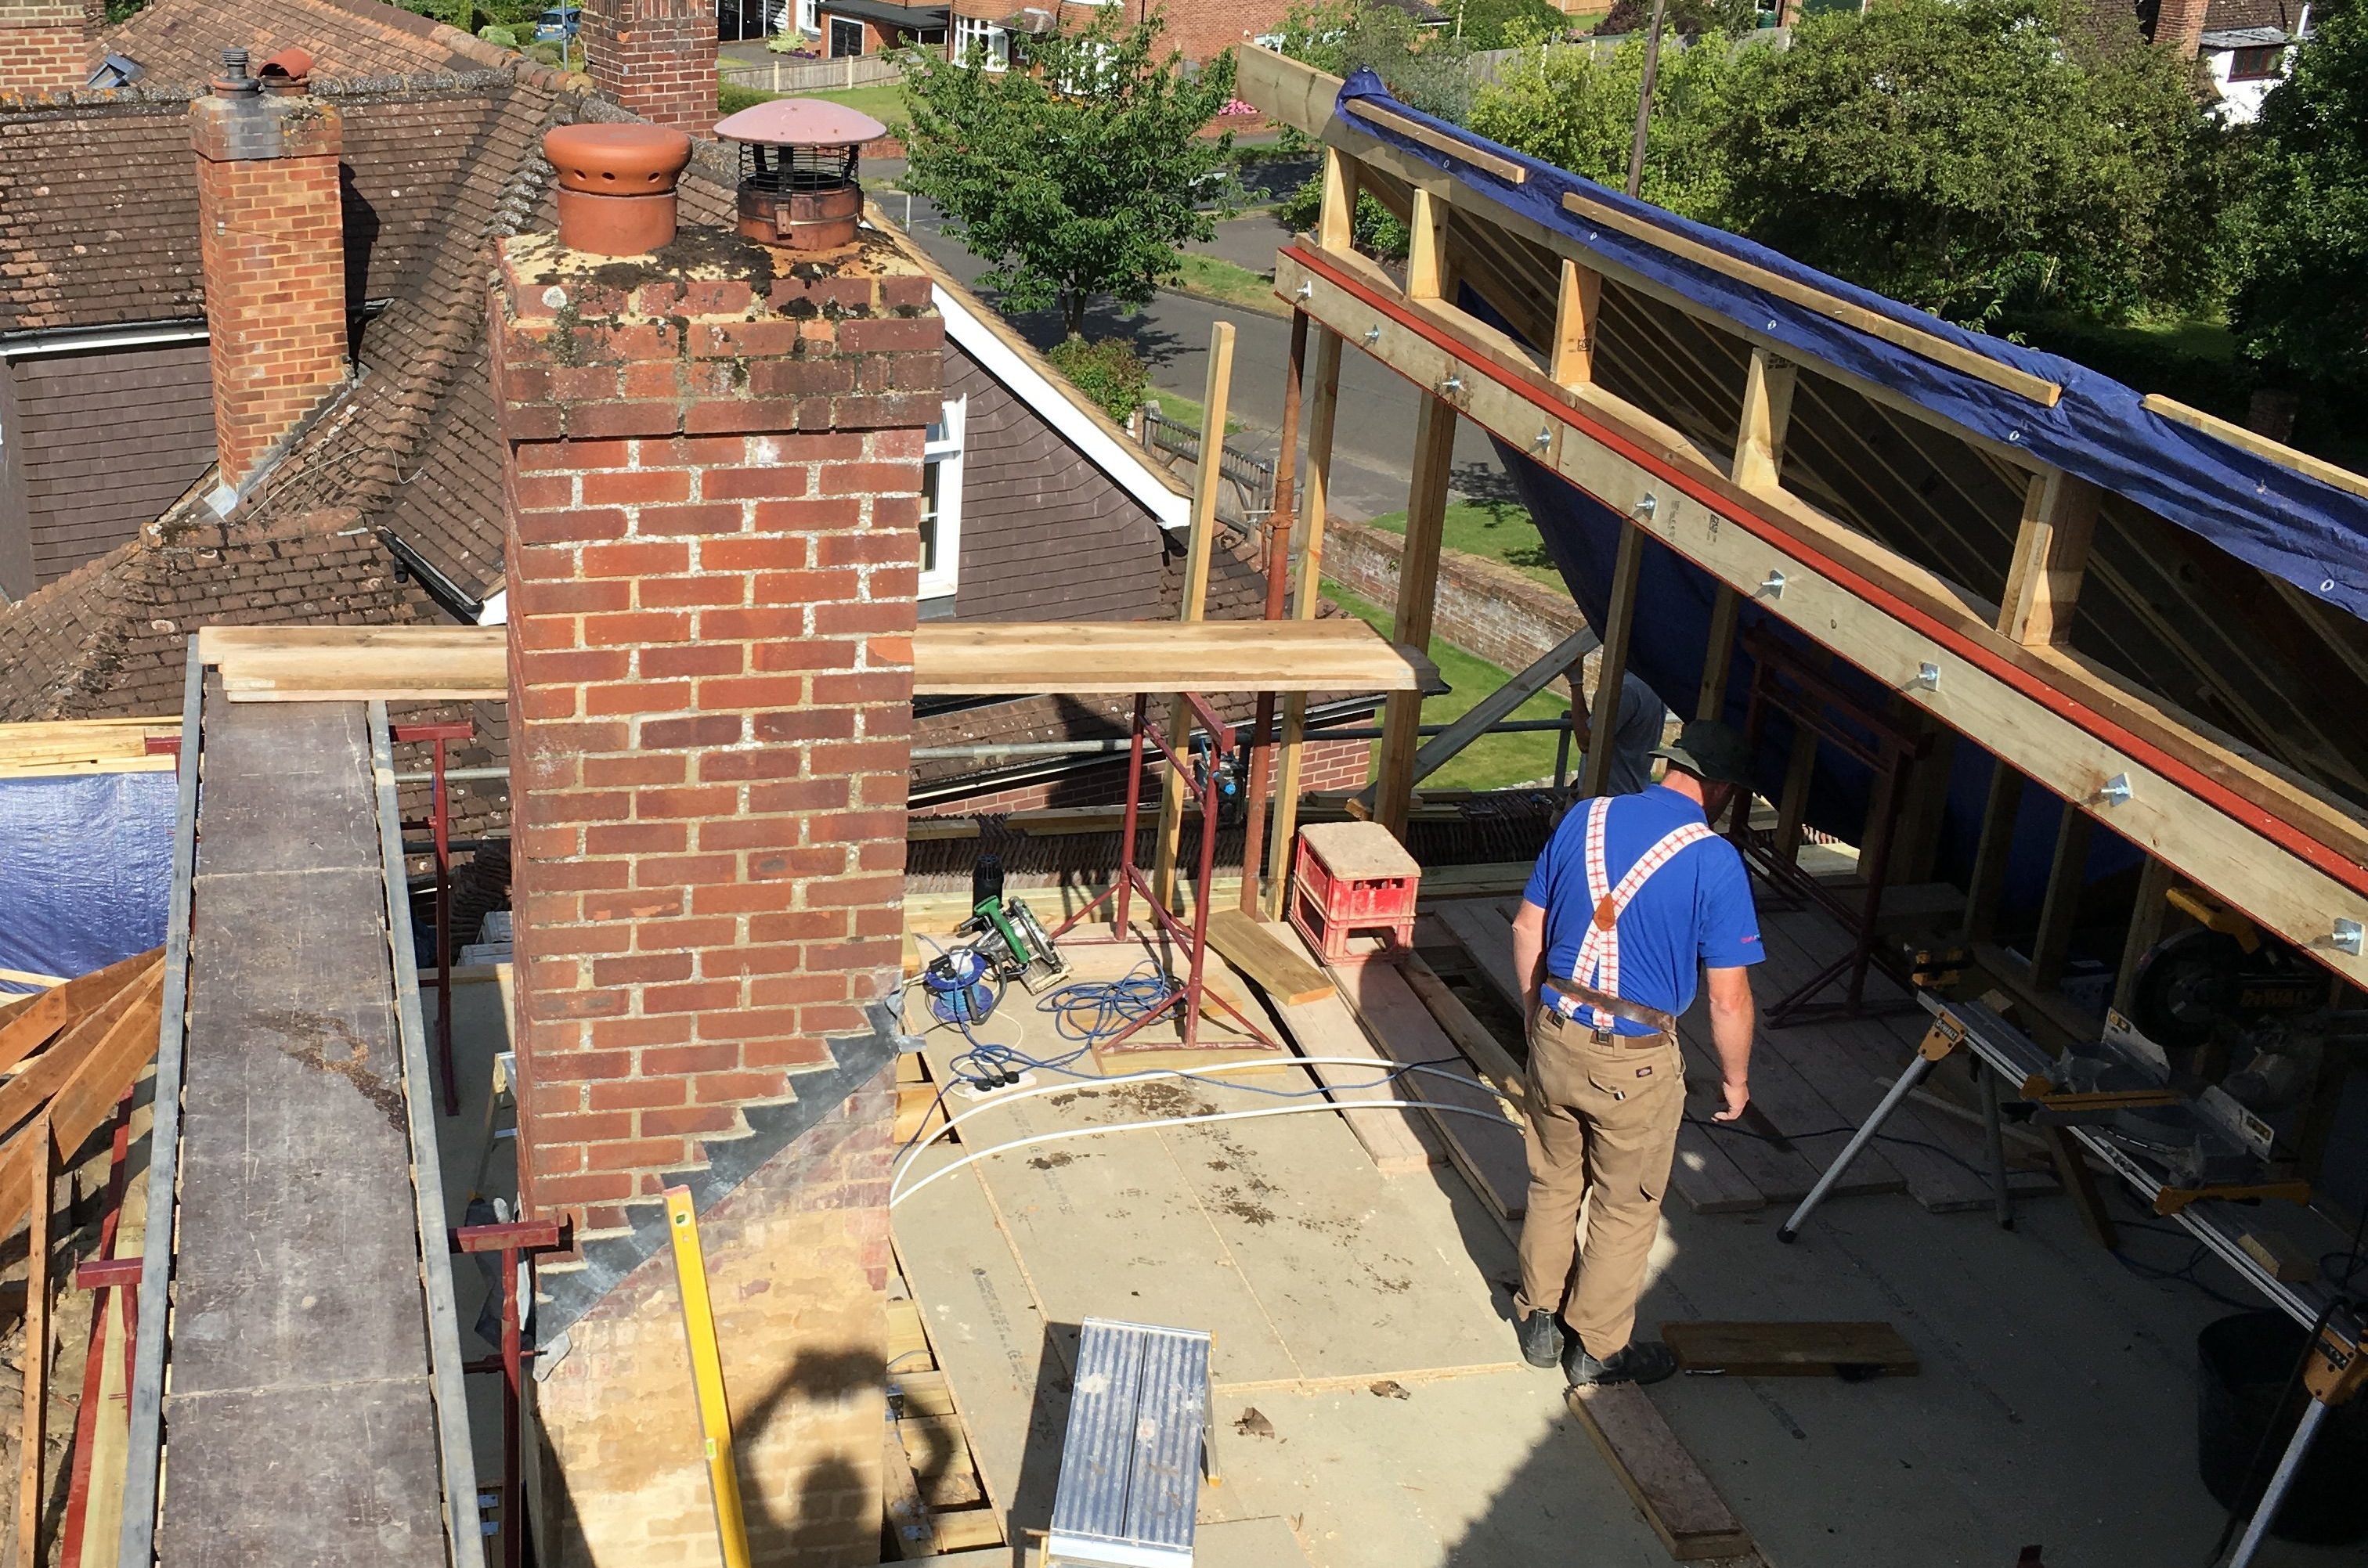
- 3. Once regulations are checked, clean out your loft ready and the scaffold can be erected. A bulk delivery of timber, Steels, plasterboard and floorboards are delivered and loaded out on the scaffold ready for construction.
- 4. The RSJ’s are built into place and floor joints installed. This now creates your new loft floorspace.
- 5. The existing rafters are reinforced with new bigger rafters bolted alongside existing ones. The existing roof purlins and supports can now be removed. At this point any Velux window openings are created and ready for windows to be installed.
- 6. If you have chosen to have a dormer this is the point it would be constructed. Your loft will suddenly grow in size due to the new head room that is created.
- 7. We try and weather tight the outside as soon as possible to avoid any water damage to your property. So, at this point we will be retiling the existing roof, flat roofing and weather tightening the dormer. Velux windows will also be installed.
- 8. All water and heating pipes supplies are installed along with drainage. We also install the smoke detector cables to the first-floor rooms of the property. This is to minimise mess and disruption later. Once this is complete the new floorboards will be installed.
- 9. All first fix carpentry is put in to allow for our electrians to install their cables. It’s hard to imagine your loft space from a floor plan so we invite you up at this stage to discuss where you would like partition walls, to make any changes and for you to tell us where you would like sockets/lights.
- 10. Once the electrians have finished we insulate the existing roof and perimetre walls. We then plasterboard the ceilings and walls to create a clean work area.
- 11. We like to try and fit the new staircase at this point because it allows us to keep majority of the work mess out of your home and also keeps your home more secure. Sometimes however this is not possible because of a technical staircase or due to access problems.
- 12. Partition walls will now be built, and all final plumbing installed to accommodate radiators, showers, toilets etc. windows will also be installed.
- 13. Plastering will take place to all new rooms in your loft and new staircase with any making good also done at the same time.
- 14. The bathroom tiler would have been booked in and will quickly follow us after completion of plastering and we will complete all second fix carpentry such as skirting, doors, staircase etc. electrians will also be back to finish their work.
- 15. When the bathroom tiler is complete, we will fit the bathroom suite and hang the radiators in other rooms.
- 16. Your loft will now be ready for decorating and either ours will quickly be there to follow us or yours can take over and complete it.